How to create multiple columns
Our Ninja Menus 2.0 comes with new features as well as updated UI and UX. One of these features is the ability to create menu in multiple languages. When switching the website between languages, the menus will change respectively.
In this article, we will show you how to create menus in multiple store views.
First, have quick look at this visual step-by-step video tutorial
Suppose that your website has 2 languages: English and French.
Step 1: Create an English Menu
Create a new menu then configure the General Tab like below
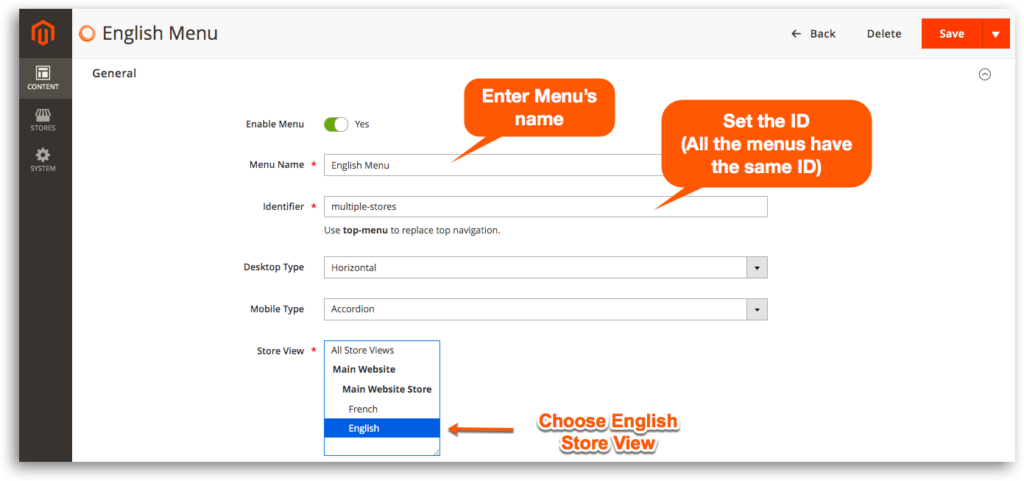
- Set up menu content in English
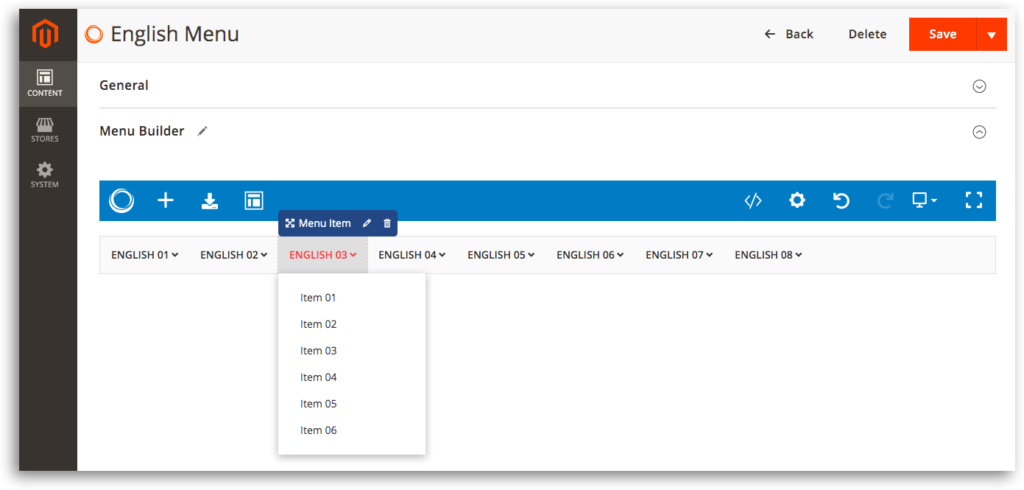
Don't forget to hit Save after finishing.
Step 2: French Menu
Create another new one, name it and configure the General tab like the above menu
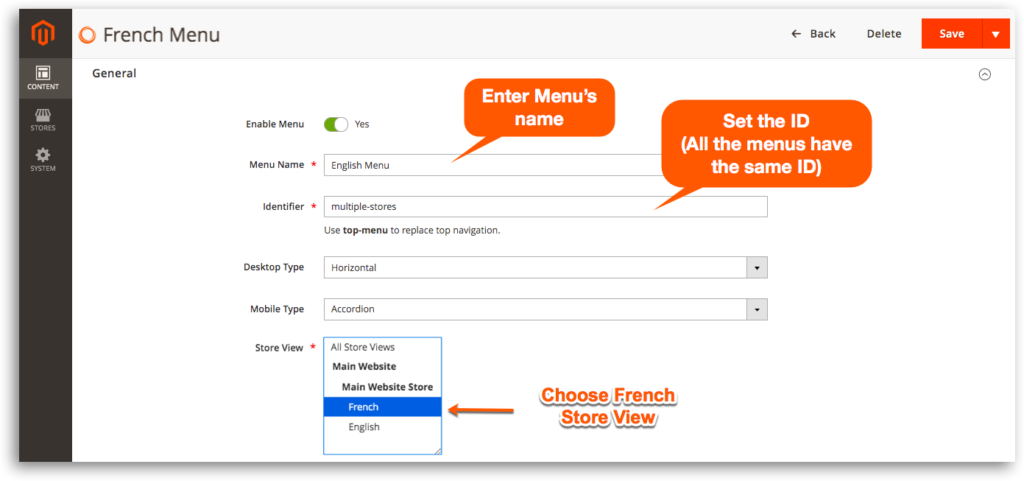
- Edit the content in French
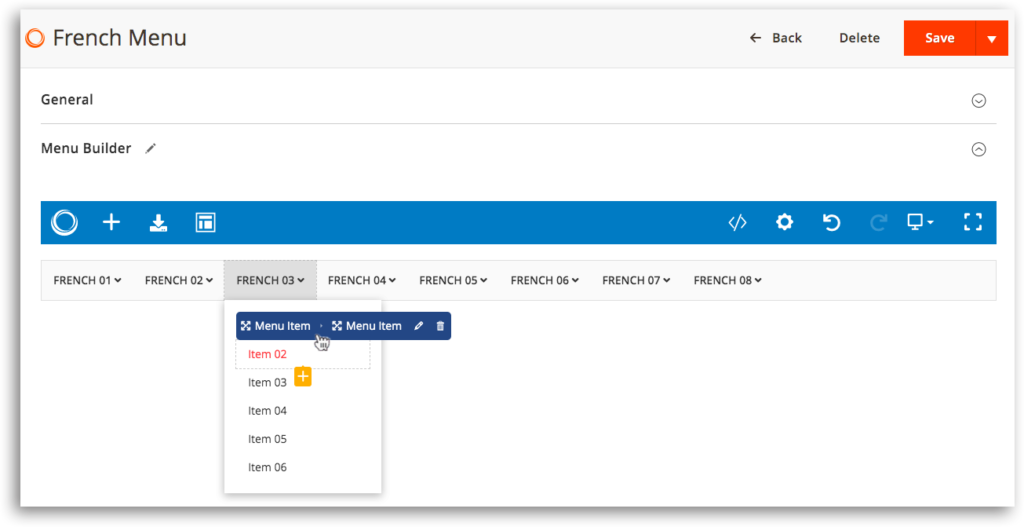
Never forget to Save when you finish.
Step 3: Check the results on the front
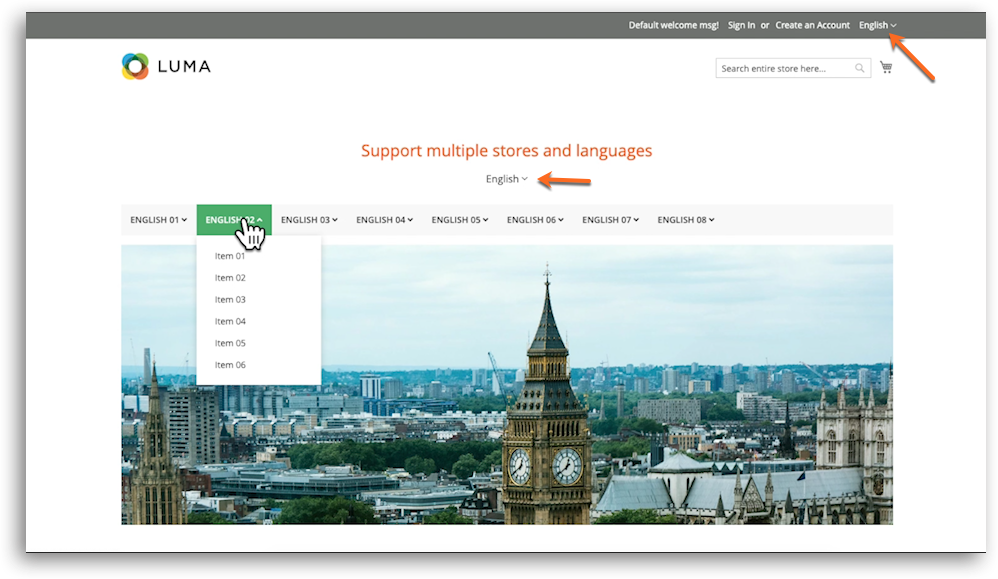
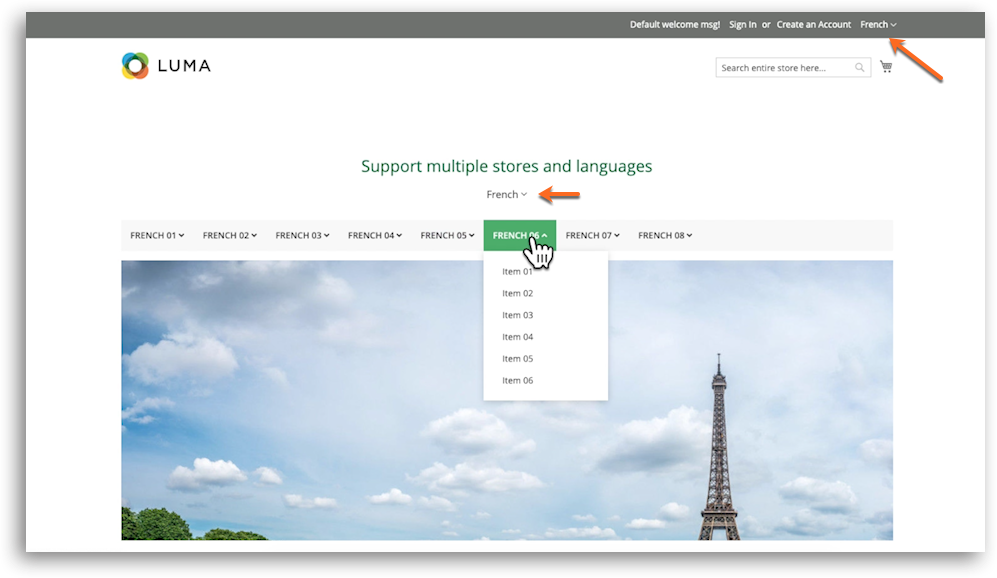
Do the same if your website has other languages. Remember to choose the relevant store view and enter the same values for the Identifier field.
Any questions or need support, please leave us a comment below. We’re always willing to help.
Your feelings about the post?

Demo
Lorem ipsum dolor sit amet, consectetur adipiscing elit. Curabitur hendrerit vestibulum nisl, a porta turpis condimentum quis. Donec blandit a erat non accumsan. Duis interdum tellus ac neque suscipit fringilla.

Drag and Drop in Magezon Page Builder explained
How to add custom CSS in Magezon Page Builder
