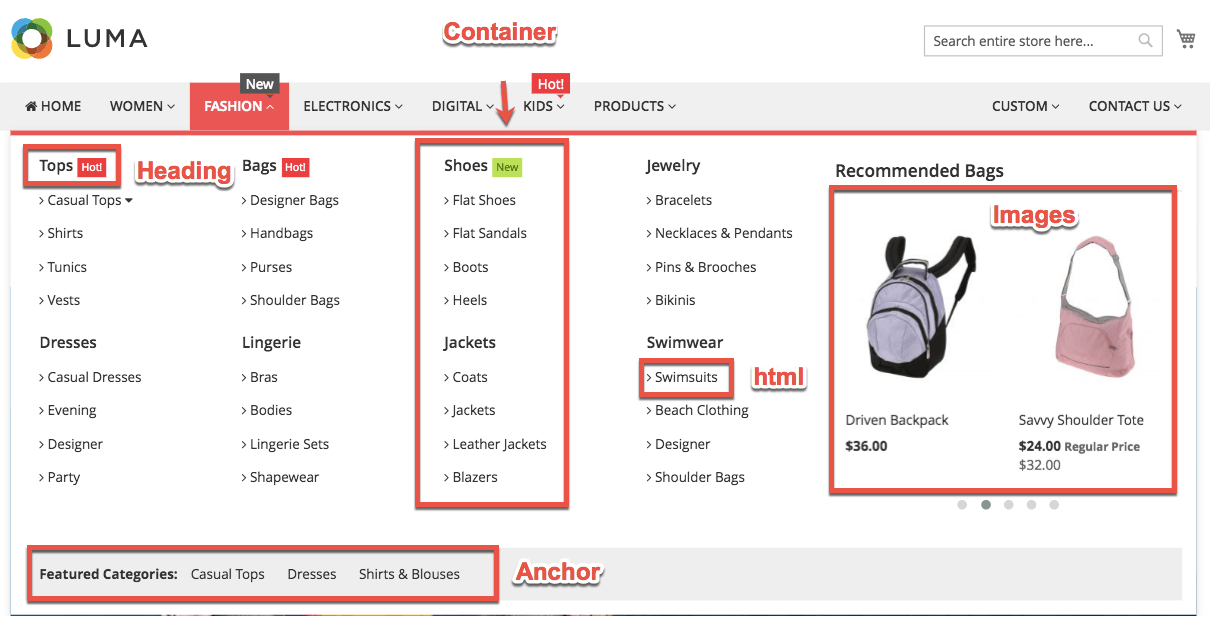
Make your menu look more attractive using Ninja Menus
While setting your navigation menu, you might find it boring if the mega menu looks similar to other site's. Even you think it's not attractive, so how do your customers think?
Of course, it's not a good experience scrolling down a page of plain navigator without any decoration. However, customizing a mega menu in Magento is not an easy work as many people thought: Coding skill, technical knowledge, site acquaintance, etc.
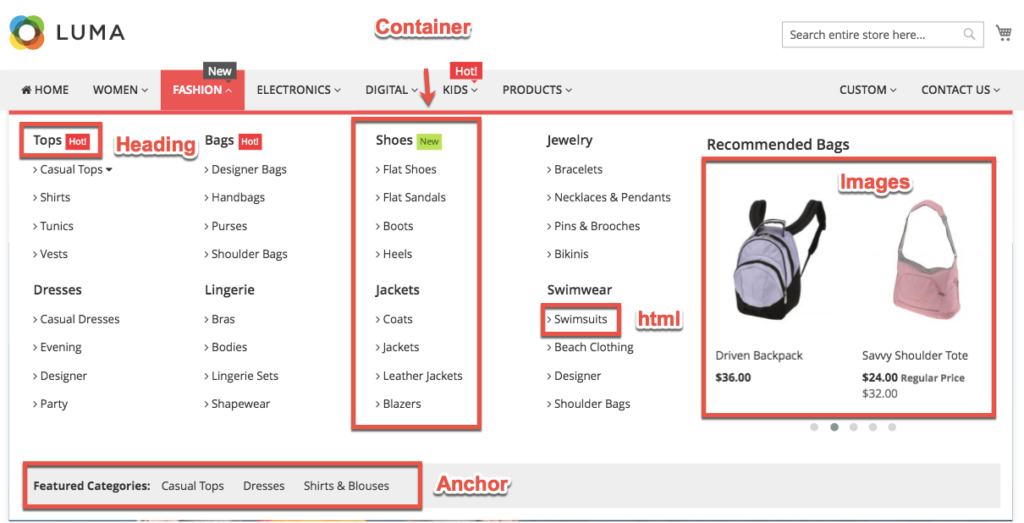
If you are worried about this matter, go through this article to get some tips and know how to customize your menu with our incredibly easy-to-use extension: Ninja Menus.
Main feature of Ninja Menus's customising editor
Our built-in customising editor is Design Option Tab. Here below are some of the features:
- Works out of the box with most Magento 2 themes
- No coding required!
- Intuitive drag and drop interface
- Full design option
- A palette of million colors to configure
The extension supports both vertical and horizontal menus as well as accordion ones. Ninja Menus makes it easy to add an image to any menu item through the Icon tab or using one of our 7 elements.
Set the colors of the items even when they are in normal, hover or active status. Just a few clicks to the palette can give your items a stunning look!
Never forget to set up the text. As it's the content of the menu item, it's worth spending time!
How to use Design Options tab?
Let go through an example to see how they work:
- Color setting
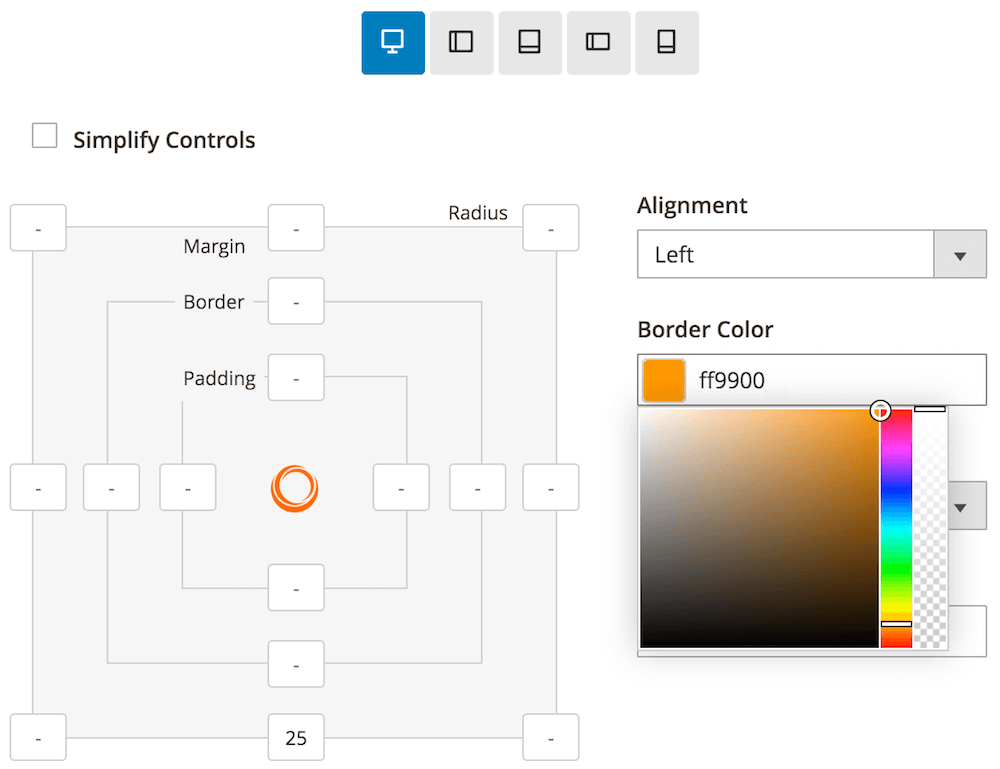
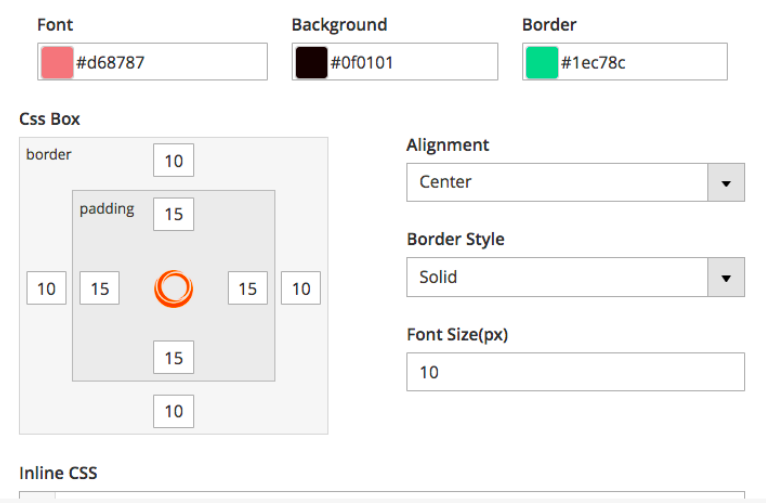
Set your color in 3 conditions: Select appropriate color for each section: Font,
Background, Border by choosing from palette or enter exact color code
Normal

When you Hover

And when Active

- Border and Padding
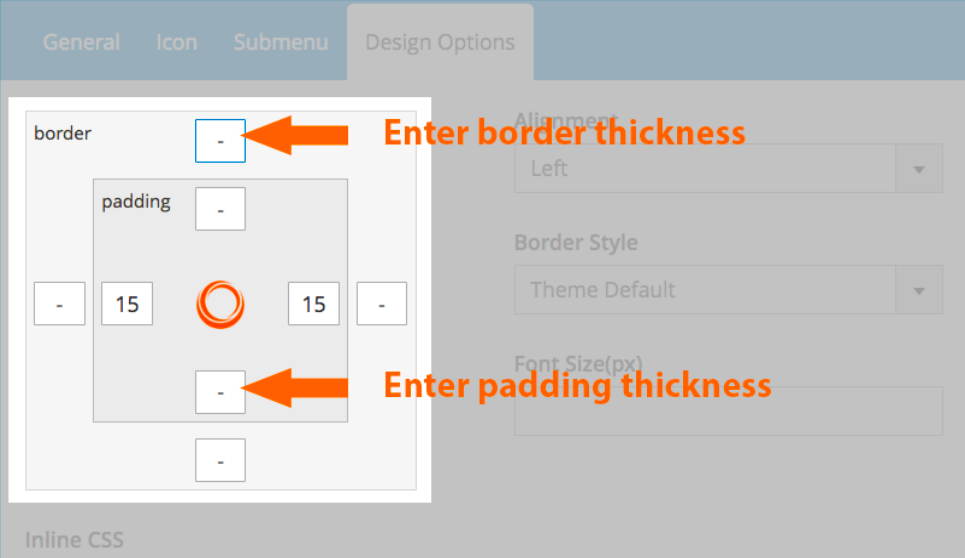
Edit your menu text by adjusting Alignment, Border Style, Font size (in pixel), Inline
CSS
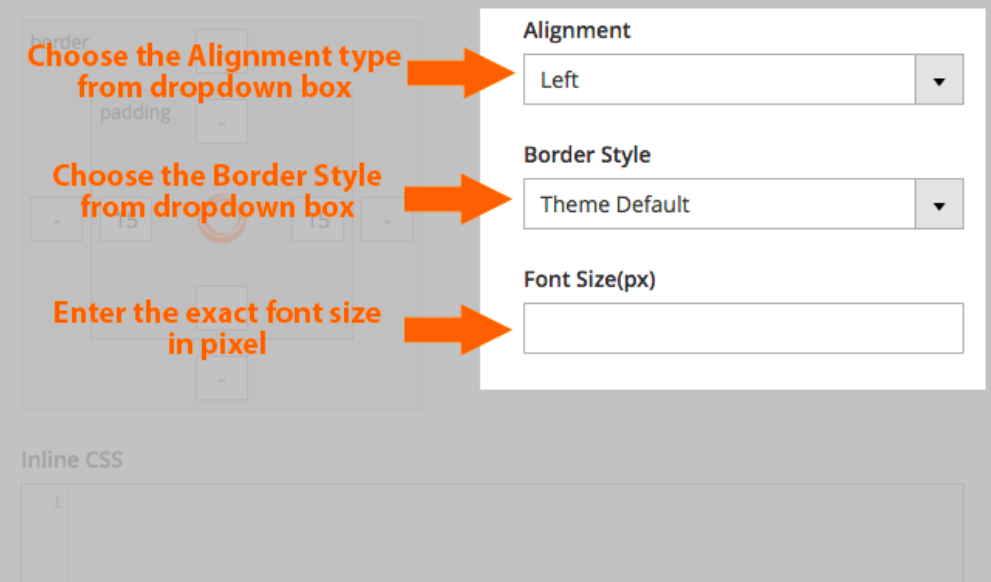
Let's give an example on Electronics category:
For a direct instruction, watch our video tutorial!


